
Enable Guided Access
Open Settings and select "Accessibility" in the list on the left-hand side of the screen.
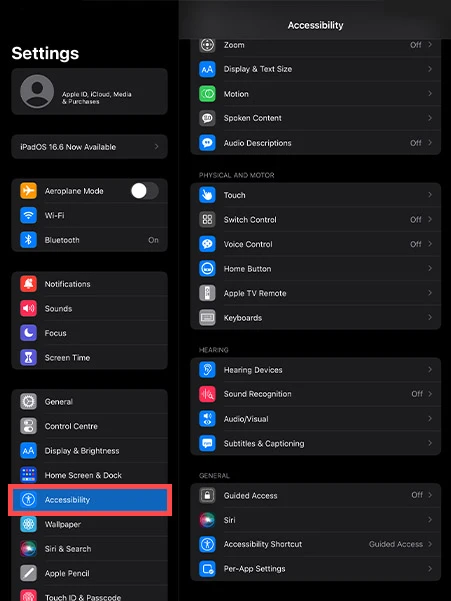
In Accessibility, scroll right down to the bottom of the featured list until you find "Guided Access" near the bottom (In the General Section).
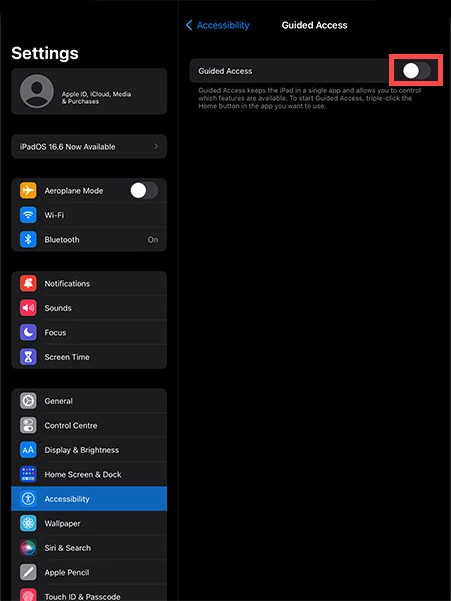
Toggle the Guided Access switch to “on” and tap on "Passcode Settings".
-medium.webp)
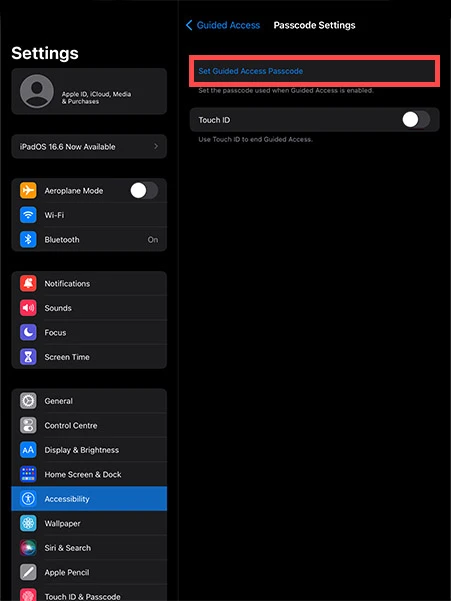
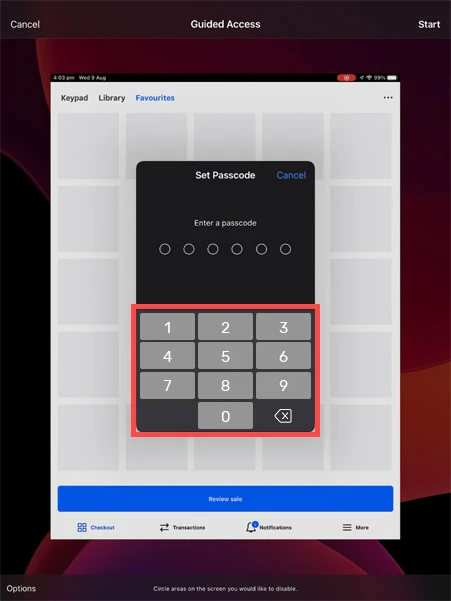
Click on "Set Guided Access Passcode" (this password allows you to enter and exit iPad kiosk mode).
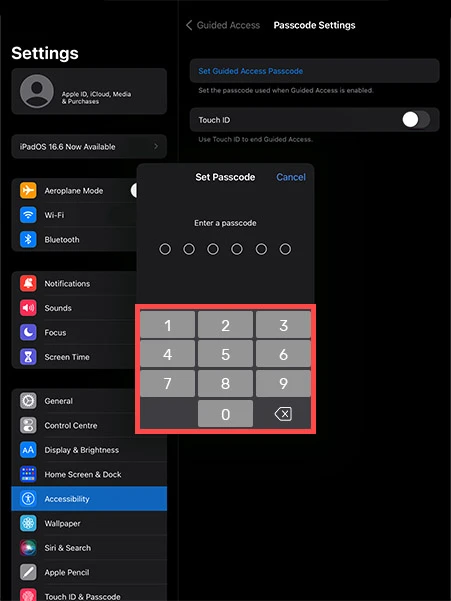
Enter a passcode (you will need to enter it a second time to confirm the code).
Configure Guided Access
Open the Kinetica Clickscan app. With your app open, triple click on the Home button. The triple click launches, disables and allows you to start Guided Access when you require. If you’re using an iPad Pro, triple click the power button.

At this stage you are given the option to circle areas on the screen that you want to disable. These areas will then no longer respond to touch. You can circle multiple areas if you'd like. 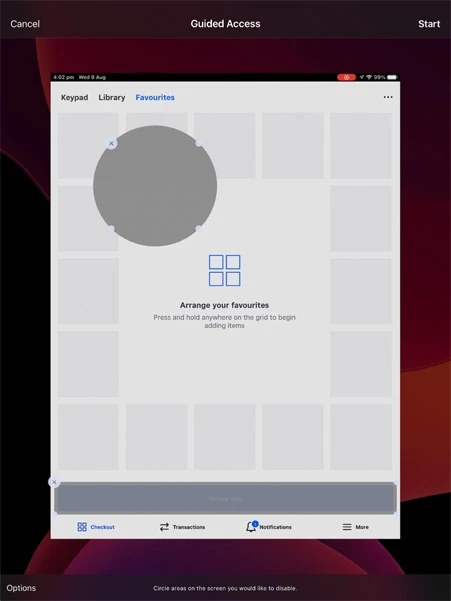
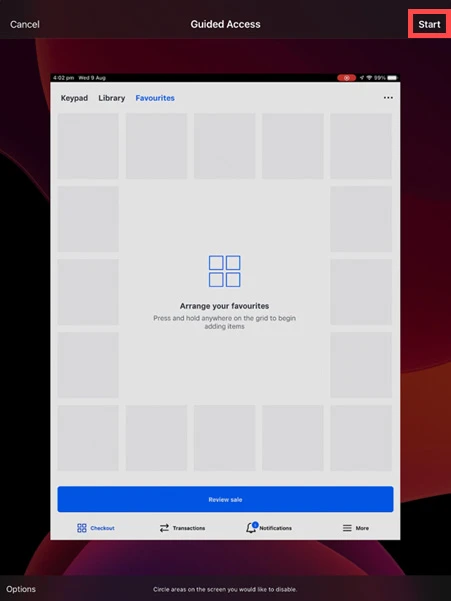
Once you have set Guided Access up as you wish, click “Start” in the top right corner. This begins the Guided Access (kiosk) session.
Exit Guided Access
You can exit Guided Access at any time by triple-clicking the Home button (or the Power button) and enter the Guided Access password. If you selected Touch ID, you can authorise exit using these methods.
Now simply press "End" at the top left corner of the screen to exit Guided Access.
